Joomla User Manual
Manual Index
Bitnami Installation
Preface
NOTE: BitNami Joomla! stack no longer exists as a standalone installer. Instead, it delivers as: 1) A cloud based instance, 2) In a container, either Kubernetes or Docker or 3) A virtual machine. The virtual machine will run on your operating system in a hypervisor such as Virtual Box or VMware Player. It still comes with all the required dependences as in the standalone installer.
Option 1 below no longer applies. Also, in Option 2, BitNami Lamp Stack further down, delivers in the cloud or virtual machine. In any case, Bitnami makes having a performing local installation of Joomla! easy and complete.
You can download the latest version of the Bitnami package for Joomla! for Windows, Linux and Mac at http://bitnami.org/stack/joomla.
Revision Needed!
BitNami Joomla! Stack is an all-in-one installer that makes it easy to install Joomla on your computer. It is free, easy to use and self-contained. That means that it bundles and automatically configures every piece of software (dependency) necessary to run Joomla for development or production purposes, including Apache HTTP Server, MySQL and PHP.
Option 1: Joomla! stack (Recommended)
This method assumes you already have a (Windows/Linux/Mac)...AMP(Apache HTTP Server, MySQL, & PHP) environment installed.
Installing Joomla! Stack
Regardless of which operating system you are running (Windows / Linux / Mac), the install process is the same.
Download the latest version of Joomla! Stack from the BitNami website.
Find the installer you just downloaded (the filename will be similar to bitnami-joomla-VERSION-linux-installer.run. Double click on the icon to launch the installer.
If you are using Linux you will have to give executable permissions to the file first, using this command:
chmod +x /path/to/bitnami-joomla-VERSION-linux-installer.run

Click "Next".

Select the components you want to install. If you are not sure, leave the default components checked. Click "Next" when you are done.

Now it will ask where do you want to install the program. Provide the location where you want to install the BitNami Joomla! stack and click "Next" when you are done.

The user and password you provide here will be used to create the admin account in Joomla! Click "Next" when you are done.

Type in the name you want to use for your Joomla site, and click "Next".

The installer allows you to configure an email account so Joomla! can send notifications via email . Click "Next".

Wait a minute while the installer copies the files and configures your Joomla! installation.

Joomla! is now set up and ready to be used. Click "Finish" to launch the application.

Using the manager tool is easy to start/stop the Apache and MySQL servers.

You can manage the Joomla! database with phpMyAdmin easily.

Option 2: BitNami LAMPStack and Joomla!
What is BitNami LAMPStack?
BitNami LAMPStack is a free, easy to install package that bundles every piece of software (dependency) necessary to setup a LAMP (Apache, MySQL and PHP for Linux) environment up and running for development or production purposes. It is self-contained, it makes no modifications to your system and can be uninstalled easily. You can download the latest version of BitNami LAMPStack for Linux at http://bitnami.org/stack/lampstack. A Windows version and a OS X version are also available.
Regardless of which operating system you are running (Windows / Linux / Mac), the install process is the same.
Installing BitNami LAMPStack
Find the installer you just downloaded from the BitNami website (the filename will be similar to bitnami-lampstack-VERSION-linux-installer.run). Double click the icon to launch the installer.

Click "Forward".

Now it will ask where you want to install the program. Select the location on your machine and click "Forward" when you are done.

Type your MySQL root password. This will be the password for the "root" user for the database.

The installer is now ready to begin the installation process. Click "Forward".

Wait a minute while the installer copies the files and configures your LAMPStack installation.
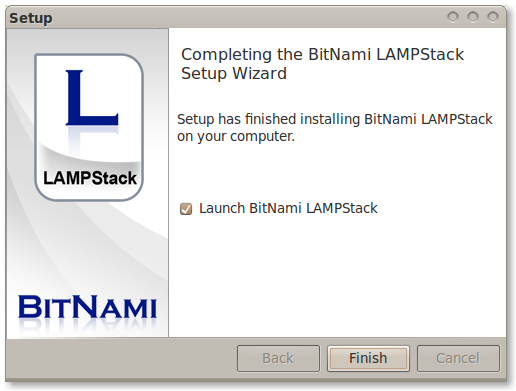
BitNami LAMPStack is now set up and ready to be used. Click "Finish" to launch the application.
Installing Joomla! manually
Follow the instructions outlined in the article Installing Joomla.