Joomla User Manual
Article: Edit - Images and Links
Introduction
Other articles have described how to embed images and links into the content of an article. This article describes the use of the Images and Links tab to add two types of image and up to three links to be used in standardised layouts. In brief:
- The Intro Image is used in Category Blog or List layouts as an extra visual taster of the type of content to be expected.
- The Full Article Image is placed at the top of the full article as a visual introduction to the content.
- The links: Link A, Link B and Link C are placed above the article text.
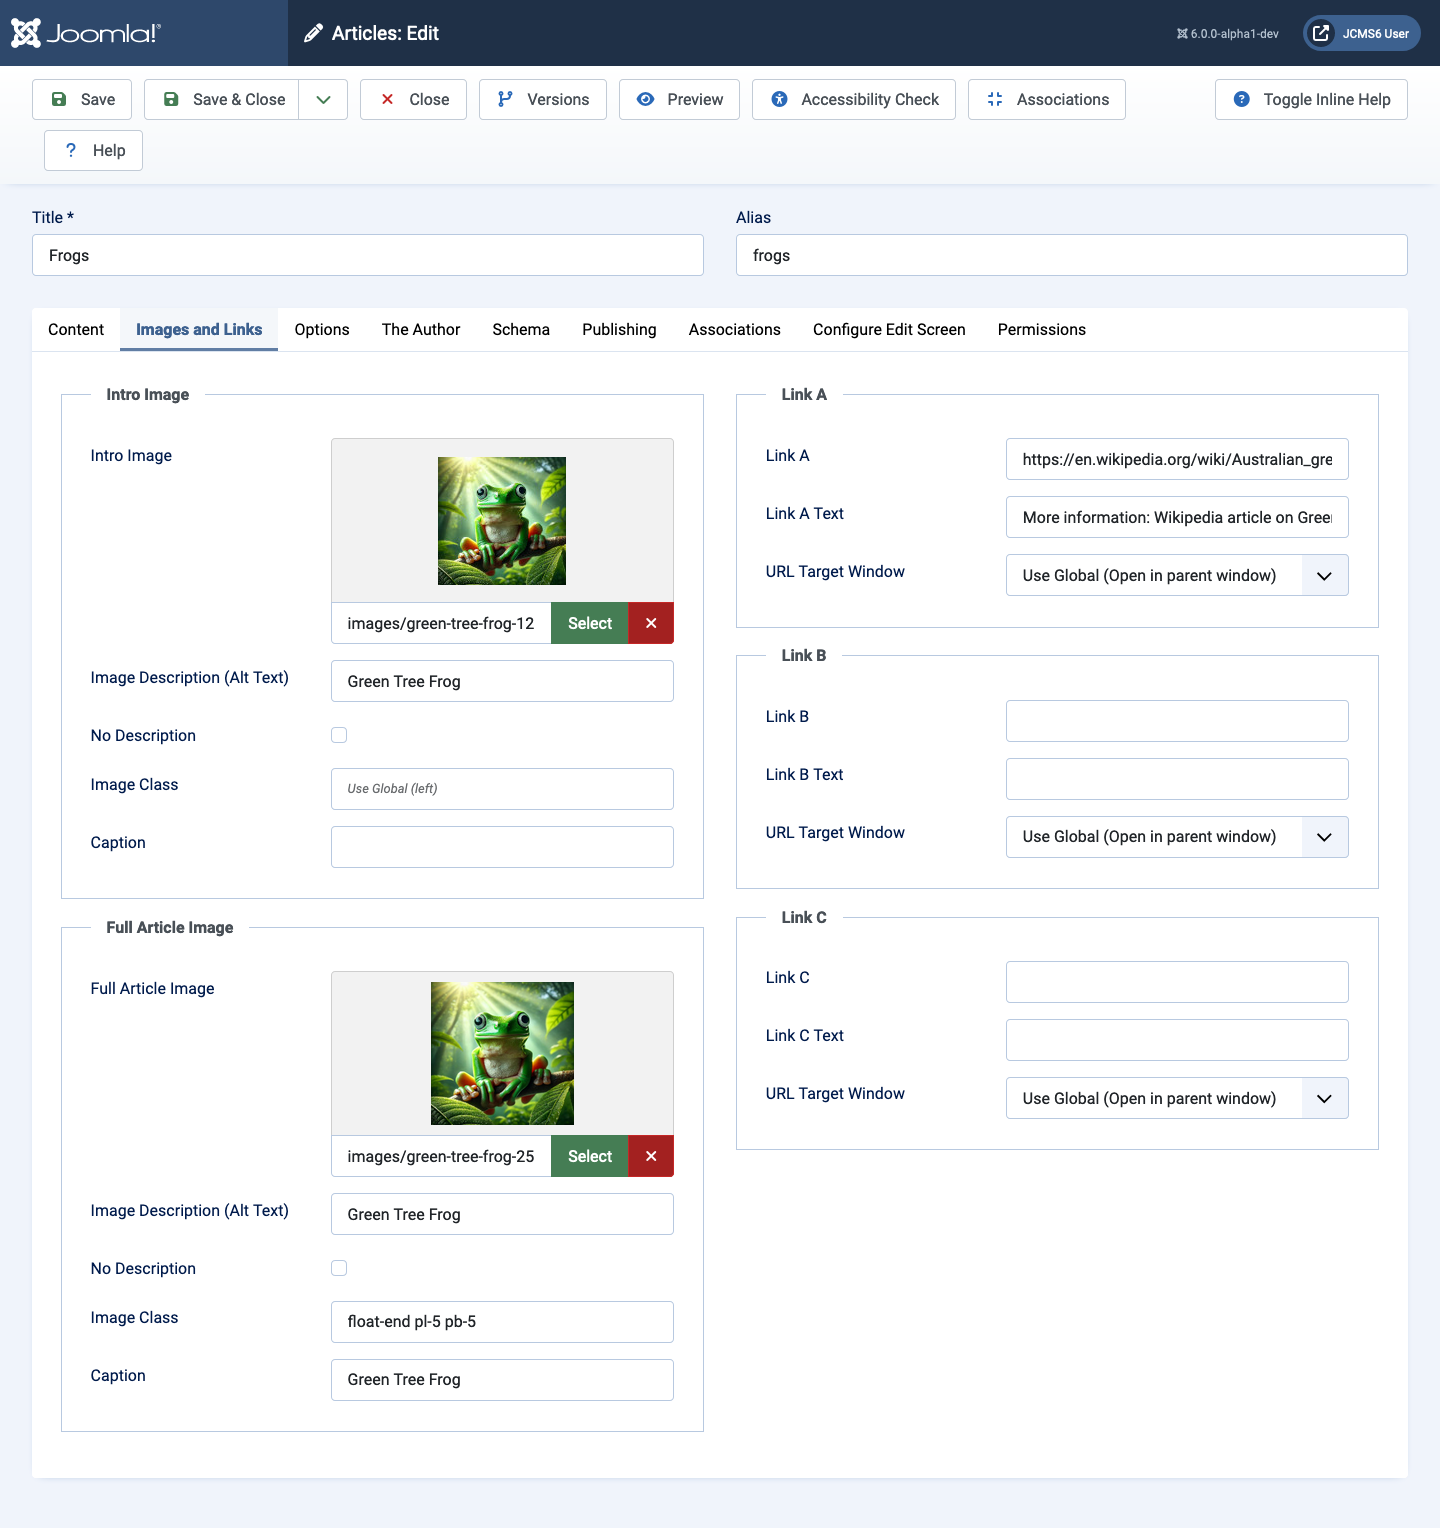
Screenshot
For this article, starting with an image of a green tree frog that was 1024 pixels wide, two smaller images were made at 128 and 256 pixels wide. Note: it is best to prepare images in your favourite image processing tool such as Gimp. The small and medium size images have been used to create the following screenshots.
Form Fields
Intro Image
- Intro Image Select a suitable image to use in Blog layouts where it will normally appear above the article title. This is optional. If left empty there will be no Intro Image in the Blog layout.
- Image Description (Alt Text) Enter a suitable image description for screen readers.
- Decorative Image If there is no Image Description and this button is
not checked the page will not pass accessibility tests. If this button is
checked an empty
altattribute will be inserted. This may allow the page tp pass accessibility tests. It is probably best to always use a good short description of the image. - Image Class The default class is left, meaning float-left. But any other float value here will have no effect because it cannot be used on grid or flex items.
- Image Caption Words entered here will appear as a caption beneath the
image. Warning: Do not use the exact same words for both the alt and
caption text. Screen readers will announce the information twice.
- The alt text should provide a concise description of what is in the image.
- The caption should usually provide context to relate the image back to the surrounding content, or give attention to a particular piece of information.
Full Article Image
The same fields as for the Intro Image but the image is used in a different context. See the Site screenshots below.
Link A
- Link A The URL for the first link to be displayed in a fixed location in the article text. This may be a full URL to an external site or a link to a page on the same site.
- Link A Text Type in the text to be used for the target link.
- URL Target Window Choose one of the target options:
- Use Global (Open in parent window)
- Open in parent window This is the preferred behaviour because the browser Back button can be used to go back to the previous page.
- Open in new window Some users like this but it confuses mobile users as it is not obvious that a new window has been invoked and there is no Back button.
- Open in popup A small popup window appears. The main window remains available. Each click on the link opens another popup window instance.
- Modal Opens the link in a modal pop-up window. From Joomla 6 the link can be to an external source or to some hidden text in the current article. In the example below the local link target would be #my-popup-target and the link text whatever is appropriate:
<div class="hidden">
    <div id="my-popup-target">
        <p class="p-3">Lorem ipsum dolor sit amet, cu vis velit signiferumque, eos no possim mollis facilisi.</p>
    </div>
</div>
Links B and C
Exactly the same data entry as Link A.
Site Screenshots
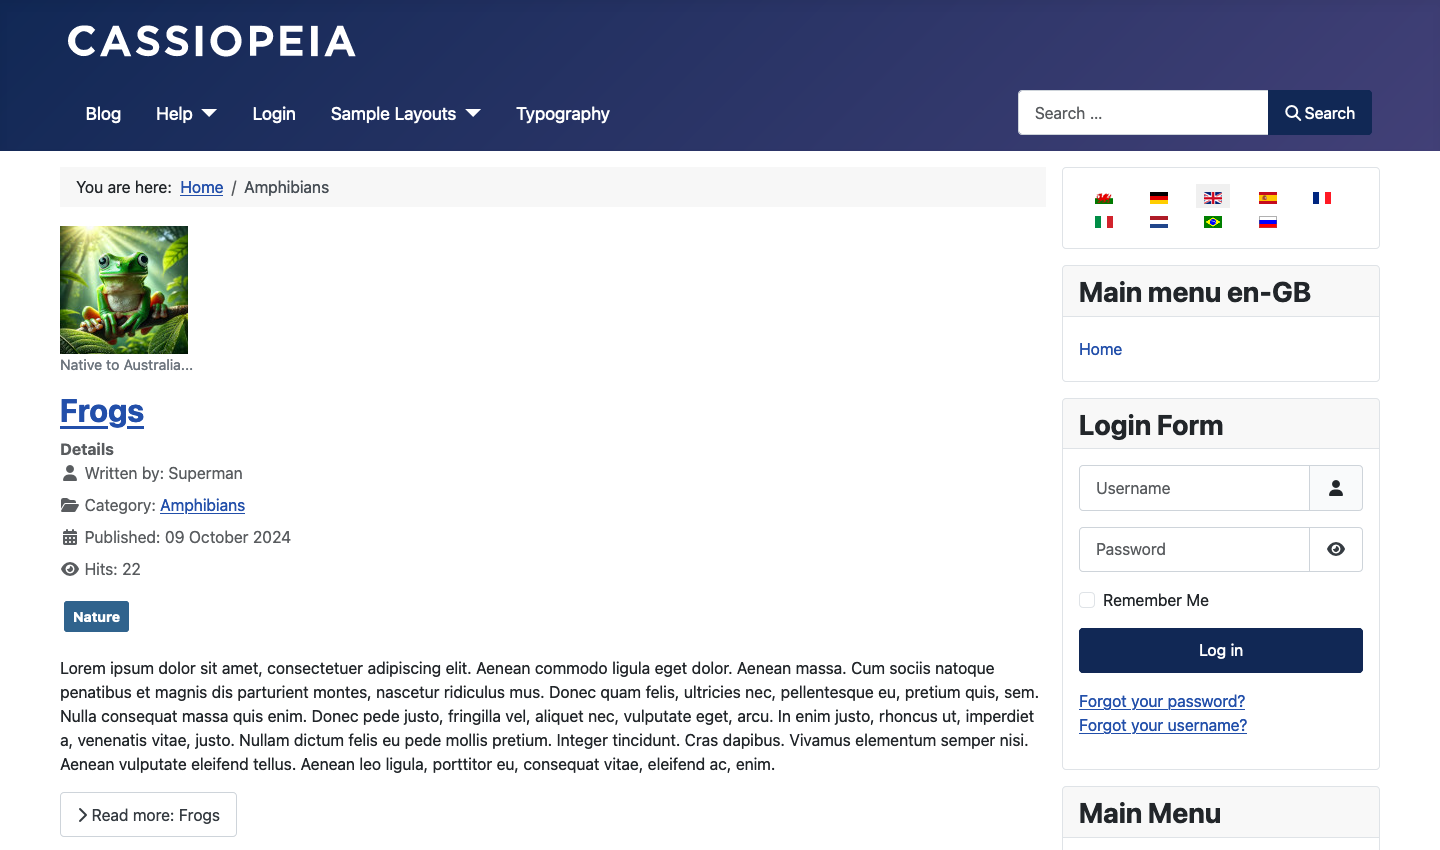
The screenshot below shows a category blog layout with the Intro Image. It might have been better to use a panorama image with the same height but much greater width to use up the vacant white space.
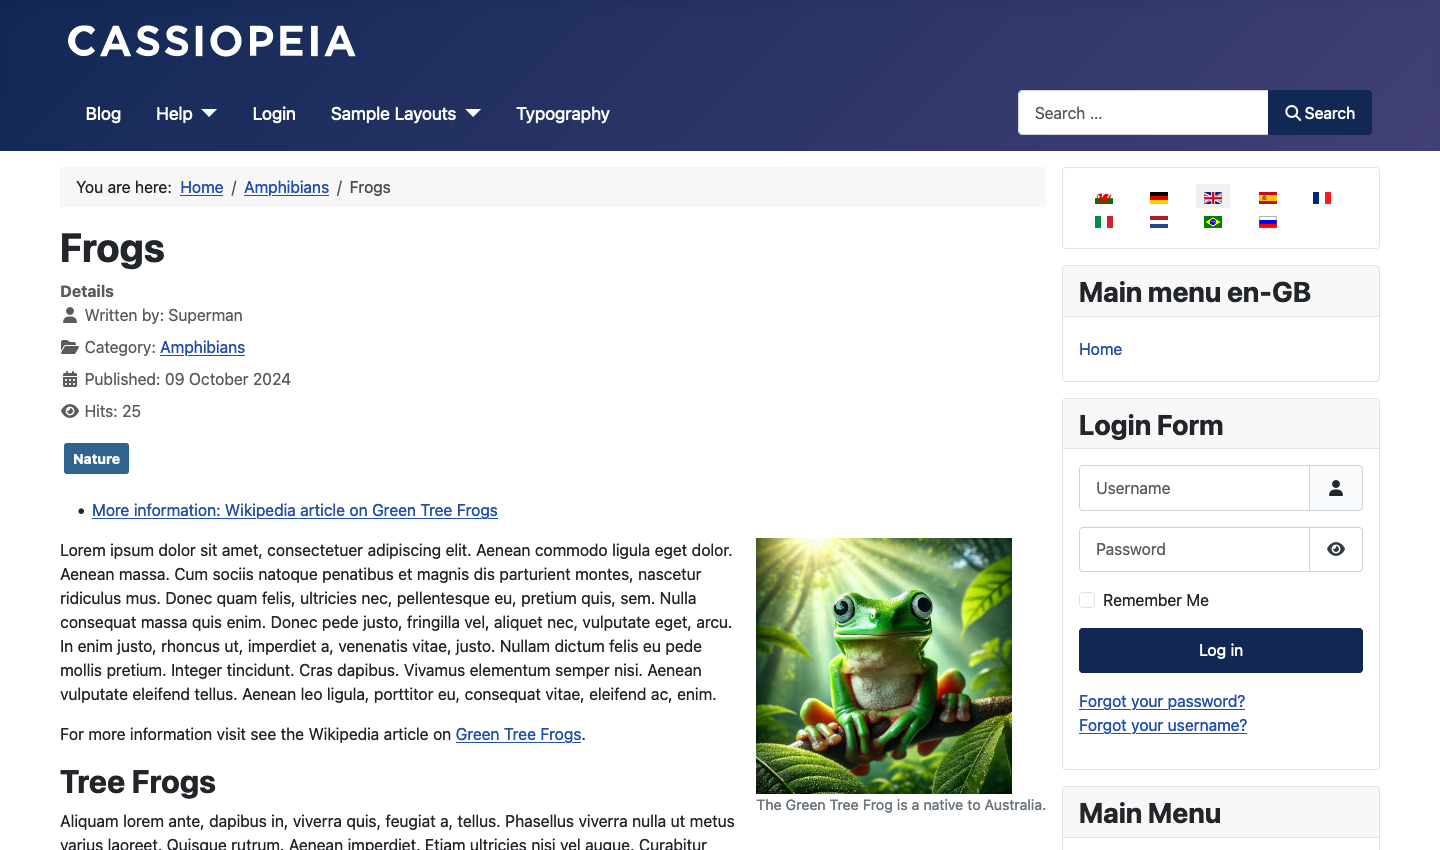
The screenshot below shows the single article page with the Full Article Image and Link A. The image has been floated to the right and the visible caption says something to add to what the Description says so that it sounds logical for screen readers.