Joomla User Manual
Article: Edit - Images
Introduction
It is important to understand that images for web documents are stored separately from HTML text. When a web page is requested the browser first fetches the text and separate supporting files such as style sheets and JavaScript scripts. Images are fetched later. Often the browser and web server negotiate which version of an image to fetch to suit the size and resolution of the browser screen. There is even a Joomla extension available that creates several versions of a parent image in different sizes and formats to improve speed of delivery and rendering.
Images are embedded in web pages by inclusion of suitably formatted links. There are two different mechanisms to include images in articles:
- The edit form Content tab allows insertion of one or more image links directly into the text of the article. That is the subject of this article.
- The edit form Images and Links tab provides for inclusion of an image as an Intro Image or a Full Article Image or both. That is covered in a separate article on Images and Links.
It is worth making a distinction between local images and remote images:
- Local Images are located on the same site as the Joomla installation, usually in the images folder. The image links do not need to include the protocol and domain name as they are taken from site settings.
- Remote Images are located somewhere else on the internet. They need to include the protocol and domain name in the link. Use of remote images by such hot-linking may be allowed today but not tomorrow. Use of remote images without permission is considered bad etiquette or even theft.
Adding a local image
The best way to insert local images is by using the CMS Content → Media button in the TinyMCE edit toolbar. It opens a Media dialog that allows selection of any image in the site images folder.
Important: First place the cursor where you wish the image to appear. That might be at the beginning or end of a paragraph or in an empty paragraph.
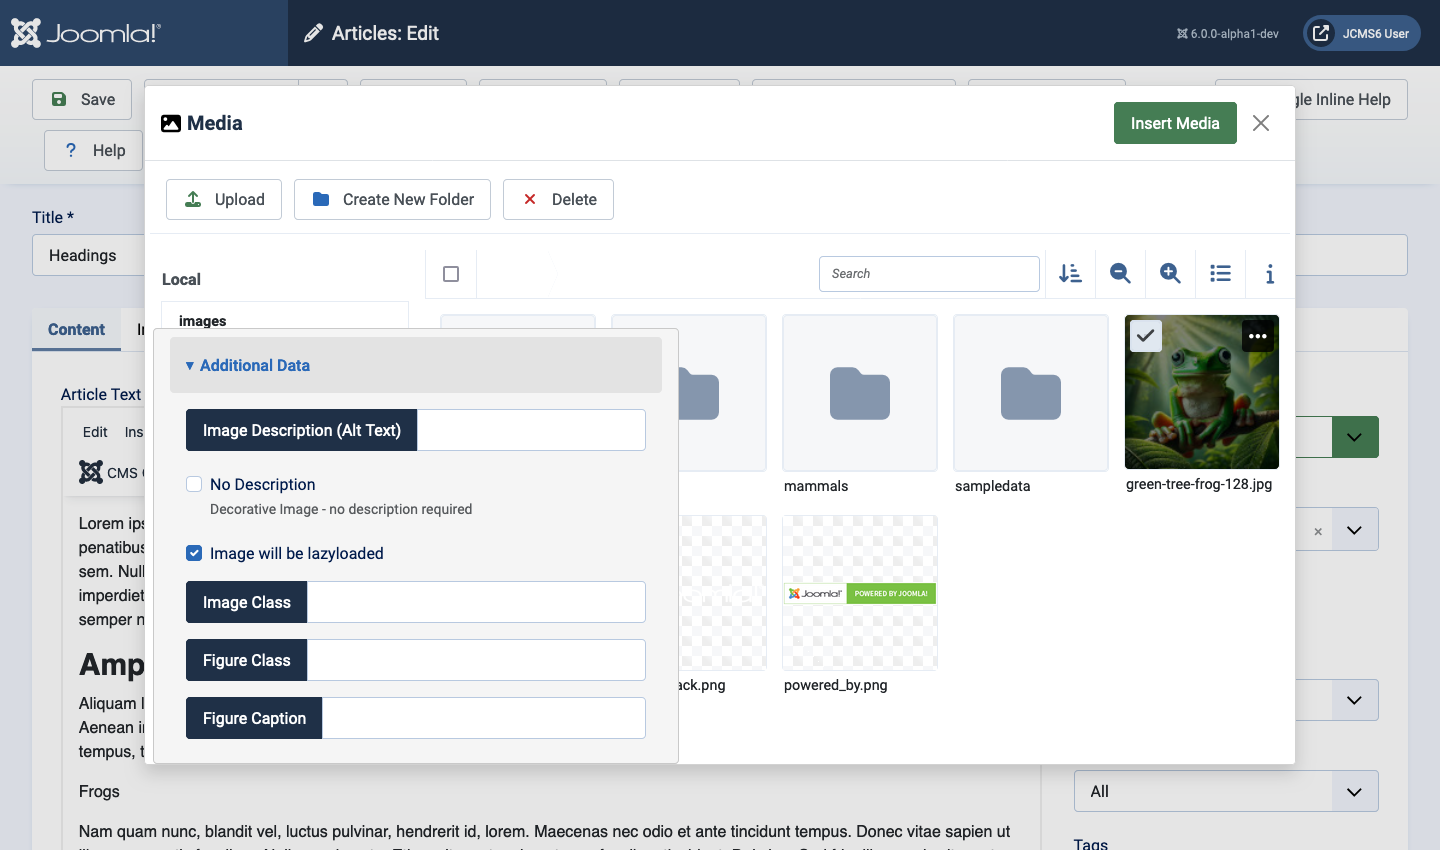
In the popup dialog, navigate to the image you want to use and select it. On selection a form will appear prompting for additional data.
- Image Description (Alt Text) This is important for accessibility purposes and compliance with web standards.
- Image Class If an image is used without a caption some custom classes may be applied here. For example, float-end ms-2 mb-1 will align the image to the right and float text around it with margins to the left and below to prevent text touching the image.
- Figure Class If a caption is set then an alignment class, if any, may be applied to the Figure. Note that in Cassiopeia margins are applied to the figure by the template style sheet so float-start or float-end are sufficient.
- Figure Caption Enables the caption which displays the content of this field as a caption below the image.
Important: If the Figure Caption field is empty the image will be inserted
within an <img...> tag and the Figure Class field will not be used. If the
Figure Caption field contains text the <img...> tag will be wrapped in
<figure>...</figure> tags. The most useful classes to add are float-start
and float-end to put the image at the left or right of the page with the
text flowing up around it.
Select the Insert Media button to insert the image. The Insert Image screen will close and the image will be displayed in the editor. Or select the Cancel button to leave the Insert Image screen.
Tip select the Toggle Editor button to see the applied Image and Figure styles. You may need to cut and paste a figure or img to move it.
Using Drag and Drop for Local images
You can drag an image from the desktop or a file browser directly into the article text and the image will be uploaded to the media folder and placed in the article. The only snag is that all such uploaded images will be placed in the same media folder.
The location of the Images Directory used for upload and whether this feature is enabled (on by default) are set in the TinyMCE configuration Options.
Adding a remote image link
If the image you wish to use is not in the images folder of your Joomla installation a slightly different procedure is needed.
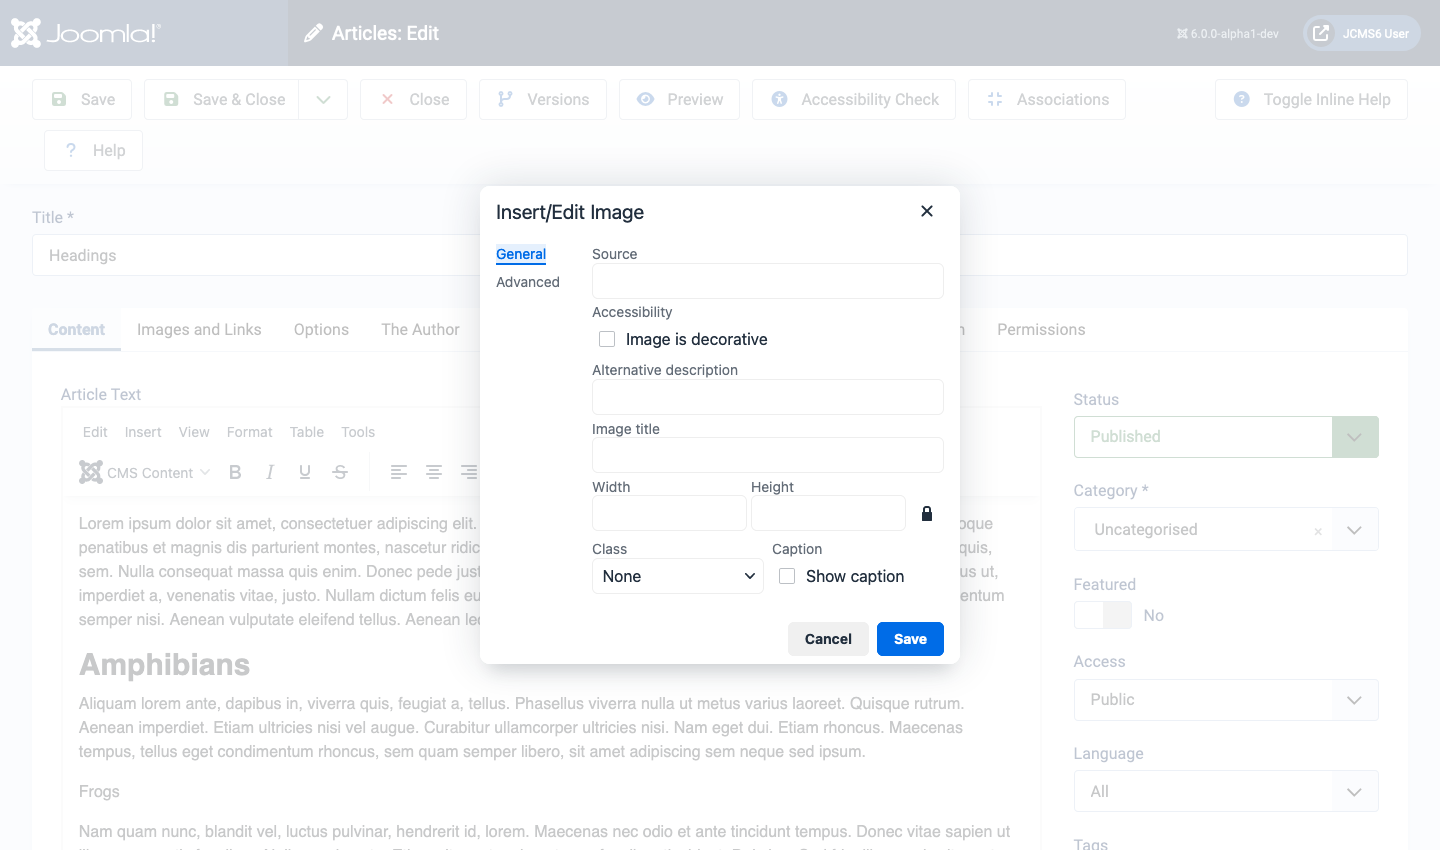
- Select Insert → Image from the TinyMCE toolbar to open a dialog box.
- In the Source field insert the image URL.
- Complete the other fields as required.
- The Advanced tab provides some formatting options applied as in-line styles. Experiment with 1rem, 2, groove.
Using Drag and Drop to insert Remote image links
You can drag and drop an image link from a remote web site directly into your article text. But be aware that this may also copy the image container HTML with class statements not valid for your site.
Uploading images using the Media dialog
You may upload new images to your images folder from the CMS Content -> Media page.
- Open the Media dialog and navigate to the folder where you wish to store new images for the current article.
- Select the Upload button at the top left of the Media screen to open a file browser.
- Select the image files you wish to upload. Select Open in the file browser to confirm the selection. Note: The file browser style and layout depends on the browser and operating system you are using.
- The selected file(s) appear in alphabet order in the Media/Image screen.
- When the upload is complete a green confirmation notice will appear at the top of the screen.
You may now select and insert the uploaded image as before.