Joomla User Manual
Laptop Hosting
Background
It is not practicable to host a website on a laptop! However, many site developers use a laptop or desktop for testing and experimentation. It can be free and not difficult for anyone willing to learn. This article sets out the basic steps. But beware, you may come across many other articles on this topic, some of which describe out-of-date technologies!
At the end, you will be able to create as many web sites as you need for testing and development purposes. When satisfied, you can deploy a development site to a public web server. That part is not covered here.
The article content is based on the steps required for installation on a Macbook Pro. It should be very similar on a Windows or Linux computer.
Acknowledgement
This article is based on presentations given by René Kreijveld at the 2026 Joomla World Conference and at the Joomla User Group London (November 2026). Some references:
- DDEV: Docker-based PHP and Node.js development environments
- ddev-joomla: Bash scripts to support Joomla in DDEV
- DDevUI: A cross-platform polished desktop app for managing DDEV local development environments — everything the ddev CLI does, behind a beautifully designed UI.
- JWC26 Slides: Joomla development with DDEV
What is DDEV and how to install it
DDEV is a Docker based, PHP and Node.js development platform providing isolated per project environments such as PHP and database versions.
- DDEV is free ...
- Instructions are available online.
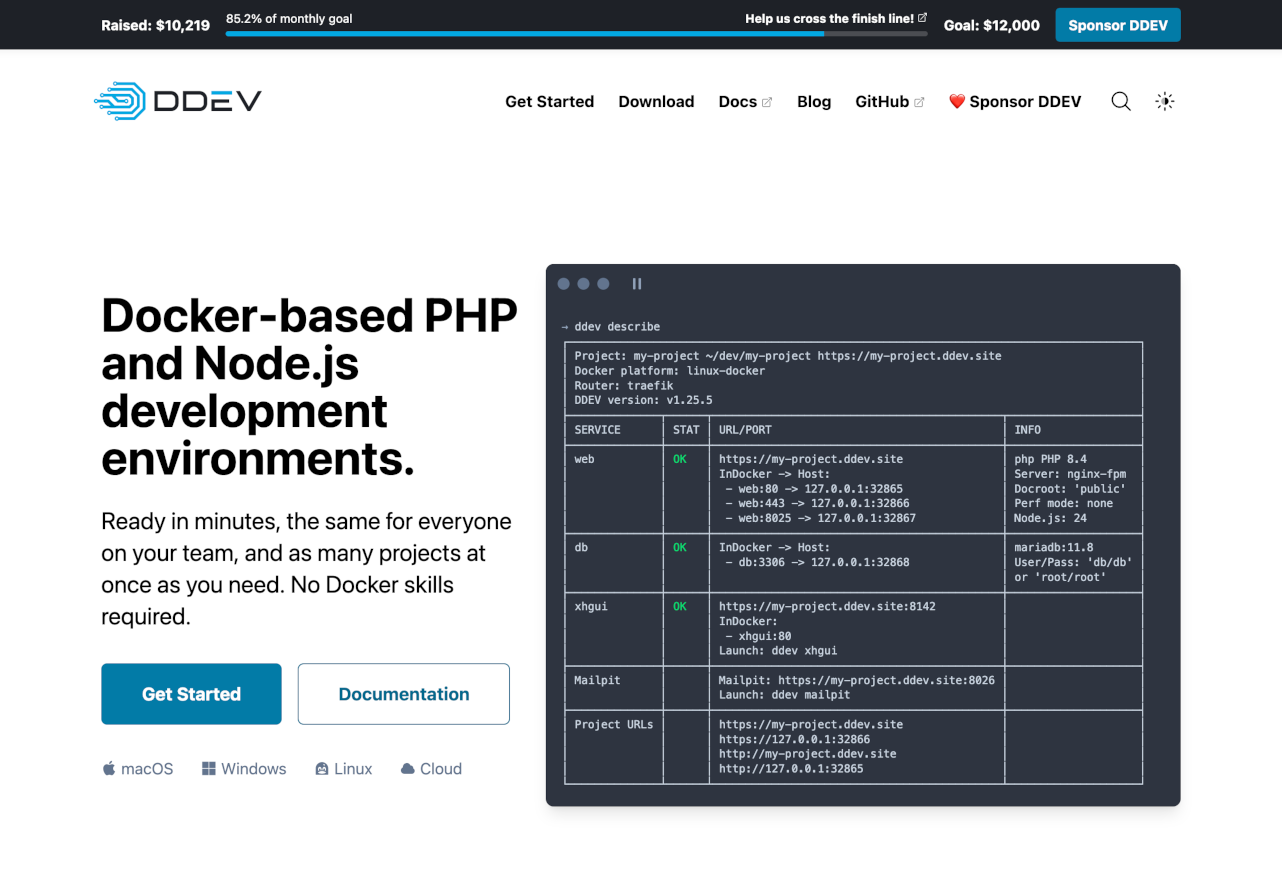
Do not worry if you already have a web server, databases and PHP installed. DDEV will not be interfere with them.
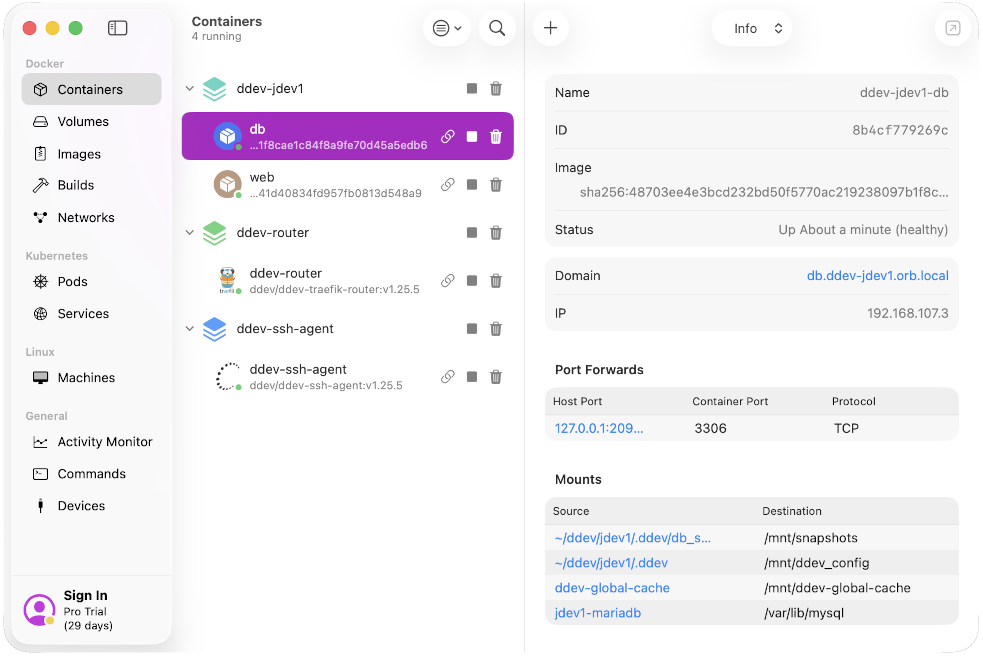
1. Install Orbstack Docker Provider with Homebrew
Orbstack is a Mac only application that is not free for prefessional use. Other platforms have other choices.
brew install orbstack docker
This is what it looks like as an App:
2. Confirm docker is installed
docker version

*Response:*
Client: Docker Engine - Community
    Version:           29.10.0
    ...
Server: Docker Engine - Community
    Engine:
    Version:          29.8.2
...
3. Install DDEV
brew install ddev/ddev/ddev
...
4. Create a local CA
mkcert -install
    ... problem, so
brew install nss (and do mkcert -install again)
5. Make a directory for all projects
cd ~
mkdir ddev
6. Make a directory for first project
mkdir ddev/jdev1
7. Change to the project directory
cd ddev/jdev1
8. Configure the project
ddev config
    ...
    Use project root as site root and joomla as a project type
9. Start the project
ddev start
10. Launch the project
This activates the preferred browser and opens a tab to the configured site.
ddev launch (this will throw a 403 error because Joomla has not been installed)
11. Fetch Joomla
There are two ways to do this:
- Fetch the latest version of Joomla for a normal user installation
curl -sL https://www.joomla.org/latest > joomla.zip
unzip -q -o joomla.zip && rm $_
ddev config
ddev launch
- Clone the Joomla repository for a version suitable for testing where Javascript and CSS changes are needed. But first install git.
cd ..
git clone https://github.com/joomla/joomla-cms.git
mv joomla-cms jdev2
cd jdev2
... Follow the instructions in the joomla-cms repository README

ddev config
ddev launch
12. Install Joomla
This is the normal installation sequence except that all four of the database credentials are db.
You now have a fully functional Joomla site!
ddev-joomla
This is a set of cross-platform scripts available in every DDEV Joomla project. It wraps repetitive tasks into single commands. Examples include new site creation, switch of PHP version, backups and so on. It is open source and self-updating.
Installation
sudo /bin/zsh -c "$(curl -fsSL https://code.kreijveld.com/renekreijveld/ddev-joomla/raw/branch/main/installer/ddev-joomla-installer.sh)"
Change ownership of .config/ddevjoomla/config to match the user.
See the Installation Instructions for further details. This is an example of a one-line command to install a new site:
jaddsite -n joomlademo -p 8.5 -j -a
...
    Where
    -n = sitename
    -p = php version
    -j = download and install joomla
    -a = add Adminer (db management tool)
The full list of tools:
jddev 3.6, written by René Kreijveld.
Overview of all available ddev-joomla scripts.

jaddsite -- Add a new Joomla site to DDEV.
jdelsite -- Permanently delete a DDEV Joomla website and its files.
jclone -- Clone an existing DDEV Joomla project to a new project name.
jphpswitch -- Switch the PHP version of an existing DDEV Joomla project.
jlatest -- Download and extract a Joomla release into the current folder.
jdbdump -- Export the DDEV database to a SQL dump file.
jdbdumpall -- Export the DDEV database of all Joomla projects to SQL dump files.
jdbdumptable -- Export one table from the DDEV database to a SQL dump file.
jdbimp -- Import a SQL dump file into the DDEV database.
jbackup -- Full backup of a Joomla site (database dump + archive).
jbackupall -- Full backup of all DDEV Joomla projects (database dump + archive).
jxdb -- Displays xdebug status and enables or disables xdebug.
jddev-vsc-xdb -- Show the default VSCode launch.json for debugging with Xdebug.
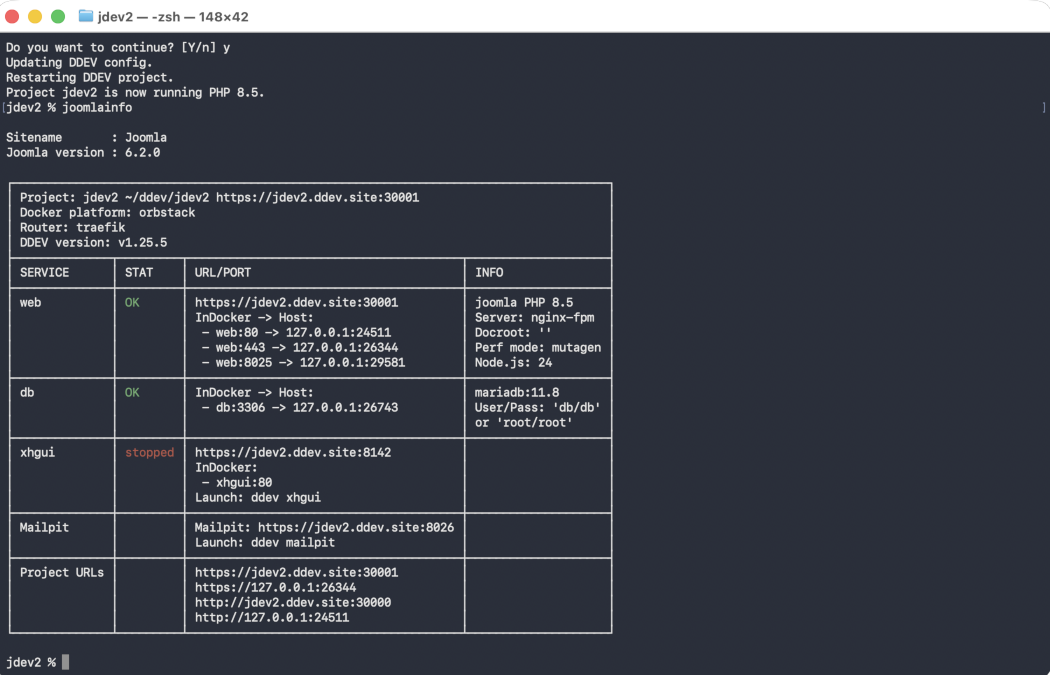
joomlainfo -- Displays info about the Joomla project and shows DDEV description.
jsetconfig -- Set the essential DDEV values in the configuration.php of the current Joomla site.
jlistjoomlas -- List all Joomla sites found under the configured root folder.
gosite -- Navigate to the document root of a Joomla site.
setrights -- Set correct file (644) and folder (755) permissions recursively.
jddev-update -- Update all ddev-joomla scripts from the ddev-joomla repository main branch.
jddev-status -- Show the ddev-joomla configuration and the state of the installation.
An example, change php version then check with joomlainfo:
DDevUI
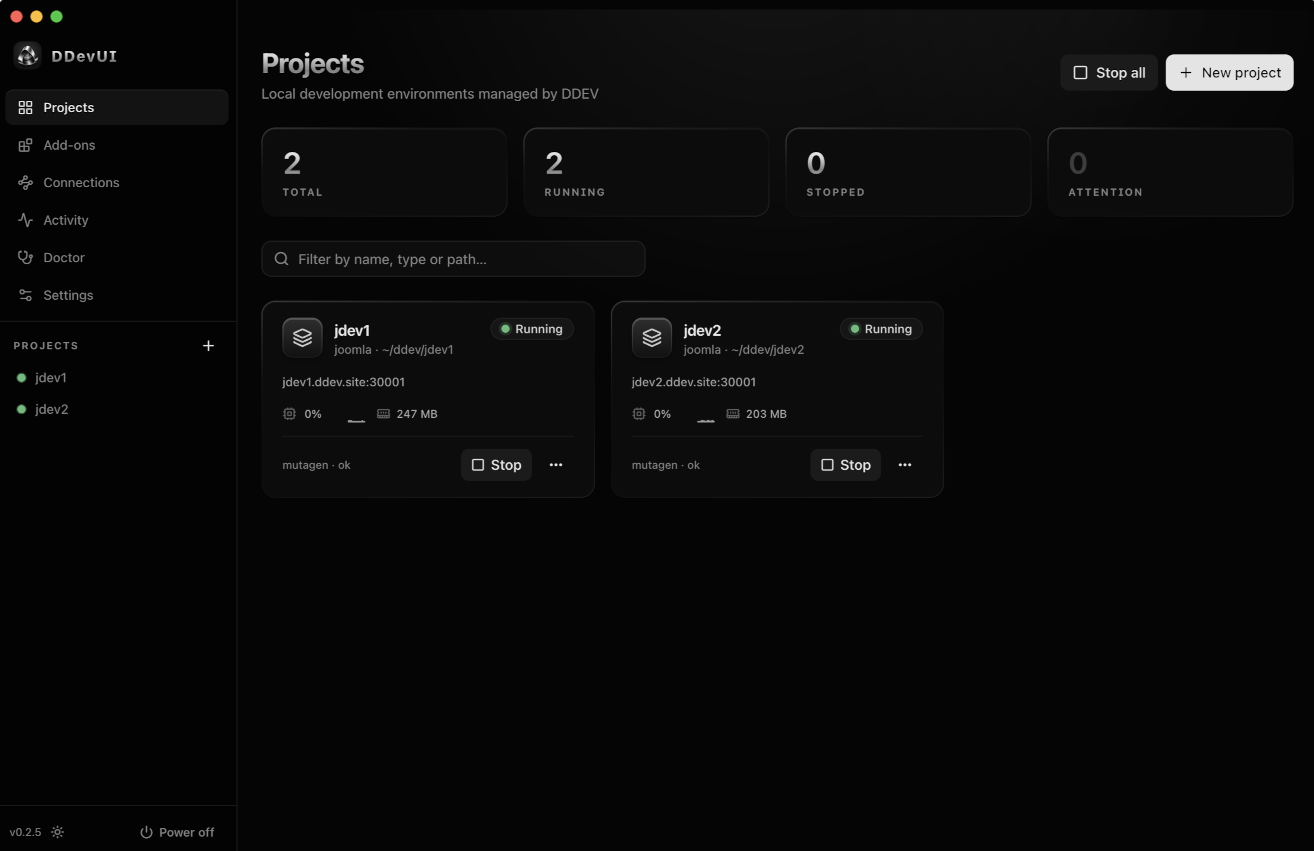
This is an optional graphical interface for managing DDEV local development environments — everything the ddev CLI does, behind a beautifully designed UI.
DDevUI Installation
brew install --cask shiv122/tap/ddevui
Then start it from the list of available apps.
Debugging with Xdebug
Debugging involves setting a breakpoint in the code with your favourite IDE and then running the code up to that point by loading a web page. Caommands to obtain status and enable or disable xdebug:
jxdb
    response: xdebug disabled
jxdb on
    response: Enabled xdebug
jxdb off
    reponse: Disabled xdebug
In the project root create a .vscode folder and a launch.json file. Create the contents with jddev-vsc-xdb and paste the result into the launch.json file. Set a breakpoint in VSCode, remember to set jxdb on and reload the appropriate page. Execution should stop at the breakpoint.
Add-ons
DDEV has lots of additional tools. There is a good chance you will need a database management tool such as phpMyAdmin or Adminer. For a complete list of tools:
ddev add-on list | more
    response: paged table of add-ons
ddev add-on list | grep phpMyAdmin
    response: │ ddev/ddev-phpmyadmin │ Web-based phpMyAdmin interface for MySQL, │

# in the root of a site:
ddev add-on get ddev/ddev-phpmyadmin
    response:
    ...
    You can now use 'ddev phpmyadmin' to launch PhpMyAdmin
    ...
ddev phpmyadmin
    response: a few seconds and phpMyAdmin appears in a new browser tab
Testing Email
Mailpit is installed in DDEV by default. To start it:
ddev mailpit
    response: a browser tab opens with the Mailpit GUI.
Go to the Global Configuration page in your Joomla site and send a test message with the default settings. Then go to the Mailpit tab and see that the test message has arrived.