Joomla Help Screens
Manual Index
Guided Tours: New or Edit Tour
Description
This screen is used to add a new or edit an existing Tour, usually using a Wysiwyg editor. The default editor is TinyMCE but if other editors are installed the default editor may be set to something else for the site as a whole or for individual users.
A tour must include a least one step. Once a tour has been newly created, go to the tours list and select '0' from the Steps column.
The first step of the tour is automatically made of the tour title and description.
How to Access
System -> Manage -> Guided Tours
To add a Tour:
- Click the New toolbar button
To edit a Tour:
- Select a Title from the list
Screenshot

Form Fields
- Title. The Title for this tour. If the title is a language key, an aditional field is shown, representing the translation of that key for the user's locale.
- Identifier. A unique identifier for the tour. On 'save', or 'copy', a value is provided by default. A suggested format would be ''authorname-tourname'', ''companyname-tourname'' or ''domain-tourname''. This identifier has multiple purposes: start a tour from anywhere (not only from the Guided Tours module), differentiate tours coming from different origins, and on multilingual sites, it dictates the language file names structure.
Edit Tour
Left Panel
- URL. The mandatory relative path from where the tour starts. For instance, to start a tour from the tour's page, enter administrator/index.php?option=com_guidedtours&view=tours.
-
Description. This is where you enter the description of the tour. Joomla includes 3
editors, the default Editor - TinyMCE is shown here. The tour description can be a
language key. When this is the case, a secondary field presents the translated description of that key for the user's locale.
The CMS Content dropdown list provides access to Media. - Toggle Editor. A Toggle Editor button show below the edit window. This button allows you to toggle between TinyMCE and Editor - None.
Right Panel
-
Status. The published status of this tour.
- Published: Tour is visible in the Take a tour dropdown.
- Unpublished: Tour is not visible in the Take a tour dropdown.
- Archived: Tour will no longer show.
- Trashed: Tour is deleted but still in the database.
- Access. Select the viewing access level for this tour. The access levels depend on what has been set up in Users: Access Levels.
- Language. Select the language for this tour. Keep the default of 'All' if you are not using the multi-language feature.
- Component Selector. The tour will be visible in priority in pages of the selected extensions. Use 'All' to show the tour in all pages. When set to 'All', the tour is placed last in the list of contextual tours in the module dropdown. This is a mandatory field.
- Note. This is for the administrator's use (for example, to document information about this tour).
Publishing
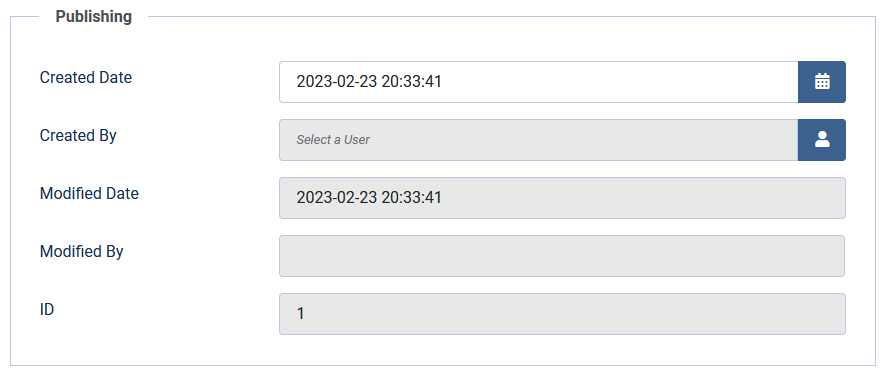
Publishing
- Created Date. The current time when the Tour was created. Enter in a different date and time or click on the calendar icon to find the desired date.
- Created By. Name of the User who created this Tour. This will default to the currently logged-in user. If you want to change this to a different user, click the Select User button.
- Modified Date. Date of last modification.
- Modified By. Username who performed the last modification.
- ID. A unique identification number for this Tour, you cannot change this number. When creating a new Tour, this field displays "0" until you save the new entry.
Permissions
This is where you can enter permissions for this tour.

To change the permissions for this tour, do the following.
- Select the Group by clicking its title located on the left.
- Find the desired Action.
- Delete. Users can delete this tour.
- Edit. Users can edit this tour.
- Edit State. User can change the published state and related information for this tour.
- Select the desired permission for the action you wish to change.
- Inherited. Inherited for users in this Group from the Global Configuration, Tours Options.
-
Allowed. Allowed for users in this Group.
Note: If this action is Denied at one of the higher levels, the Allowed permission here will not take effect. A Denied setting cannot be overridden. - Denied. Denied for users in this Group.
- Click Save in Toolbar at top. When the screen refreshes, the Calculated Setting column will show the effective permission for this Group and Action.
Toolbar
At the top of the page you will see the toolbar shown in the Screenshot above.
- Save. Saves the tour and stays in the current screen.
- Save & Close. Saves the tour and closes the current screen.
- Save & New. Saves the tour and keeps the editing screen open and ready to create another tour.
- Save as Copy. Saves your changes to a copy of the current tour. Does not affect the current tour.
- Close. Closes the current screen and returns to the previous screen without saving any modifications you may have made.
- Toggle Inline Help. Show help text below some options.
- Help. Opens this help screen.
Quick Tips
- There are 2 methods to insert an image into the tour's description using the TinyMCE editor.
- The CMS Content dropdown list provides access to the Media screen that lets you browse image files and upload images.
- The 'Insert' dropdown list is a simple form for which you need to know the image url. It is used for external images.
- There are 2 ways tours can be created for multilingual environments:
- Create one tour for each supported language.
- Create one tour only for all languages and use language keys for title and description.
- Use GUIDEDTOUR in language keys as a convention wherever language keys are used (for title and description).