Joomla! Help Screens
Media
Description
The Media component is a tool for managing files in the images folder and other user defined local folders. Actions available include:
- Upload a new image (or document)
- Delete an existing image
- Rename an image
- Edit an image
- Get an image link
- Create a new folder
Common Elements
Some aspects of this page are covered in separate Help articles:
How to access
- Home Dashboard → Site → Media.
Screenshot
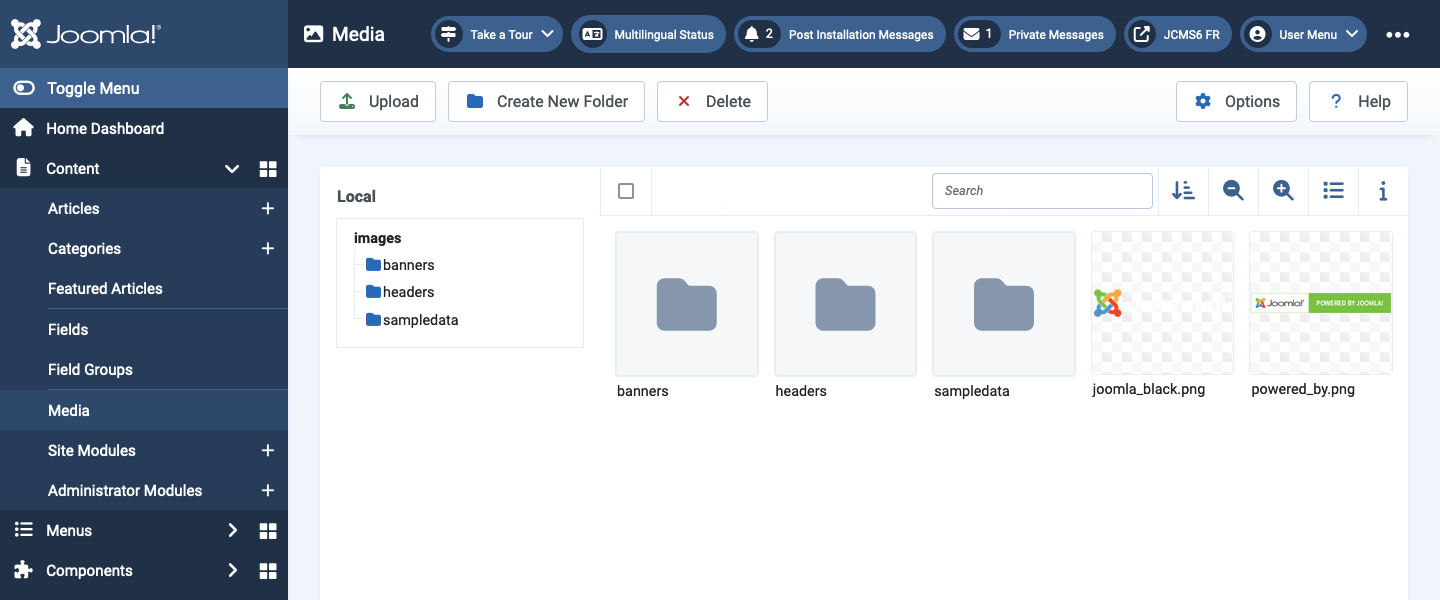
Image Display Area
Local
This area shows the structure of the local site folders, by default the images folder.
The currently selected folder is shown in the Breadcrumbs above the image display area.
Top Bar
- Checkbox Select or Deselect All Images. After selection individual images may be deselected.
- Breadcrumbs Select a breadcrumb item to go back in the folder hierarchy.
- Search. Type some part of an image name in the search box. The
filter works progressively - for example, entering the letter
kin the search box will instantly reduce the displayed images to those containing a letterk. - Magnifier Icons Decrease or Increase the visible size of the thumbnail images.
- List View or Thumbnail View Icons Toggles between Thumbnail and List views - the icon changes accordingly.
- Information Icon Displays information on whatever is selected. If an image is selected it will show the file name, folder path, size and various other properties. Select to open or close the Information panel.
Actions
Hover over an image and select the menu button labelled with an ellipsis (...). Six icons appear offering the following actions:
- Preview Select the magnifier icon - the image is shown full size in a dialog.
- Edit Select the pencil icon to open the Media Edit window. It allows image crop, resize or rotate.
- Download Select the download icon - your computer will respond by asking you what you want to do with the download. Or it may just save it or open it in an image display application.
- Get a shareable link Select the link icon to get a link to the image to be used for sharing. A dialog allows you to copy the link to your clipboard for pasting into an email or document.
- Rename Select the rename icon to open a dialog that allows the image to be renamed.
- Delete Select the waste bin icon to delete the image. You will be prompted to confirm. Once deleted it is gone forever! May be used also to delete a folder.
Tips
- If you wish to keep images and documents in separate local folders:
- create a folder in the root of your site, say files
- go to the Filesystem - Local plugin and add files under Select directories.
- Back in the Media component you will see images and files as separate items in the Local panel.
- The Media's maximum upload size can be changed to an amount other than
10 MBin the Media Options. - You can upload or delete multiple files at the same time.