Jdocmanual
Data Entry in VSCode
About VSCode and VScodium
From WikiPedia: Visual Studio Code, also commonly referred to as VS Code, is a source-code editor developed by Microsoft for Windows, Linux and macOS. Features include support for debugging, syntax highlighting, intelligent code completion, snippets, code refactoring, and embedded Git. Users can change the theme, keyboard shortcuts, preferences, and install extensions that add functionality.
VSCodium is a fork of VSCode free of tracking data. These two applications are virtually identical. There is no need to mention any differences here. Where VSCode is mentioned just read VSCodium if that is your preference.
Open the Repository Folder
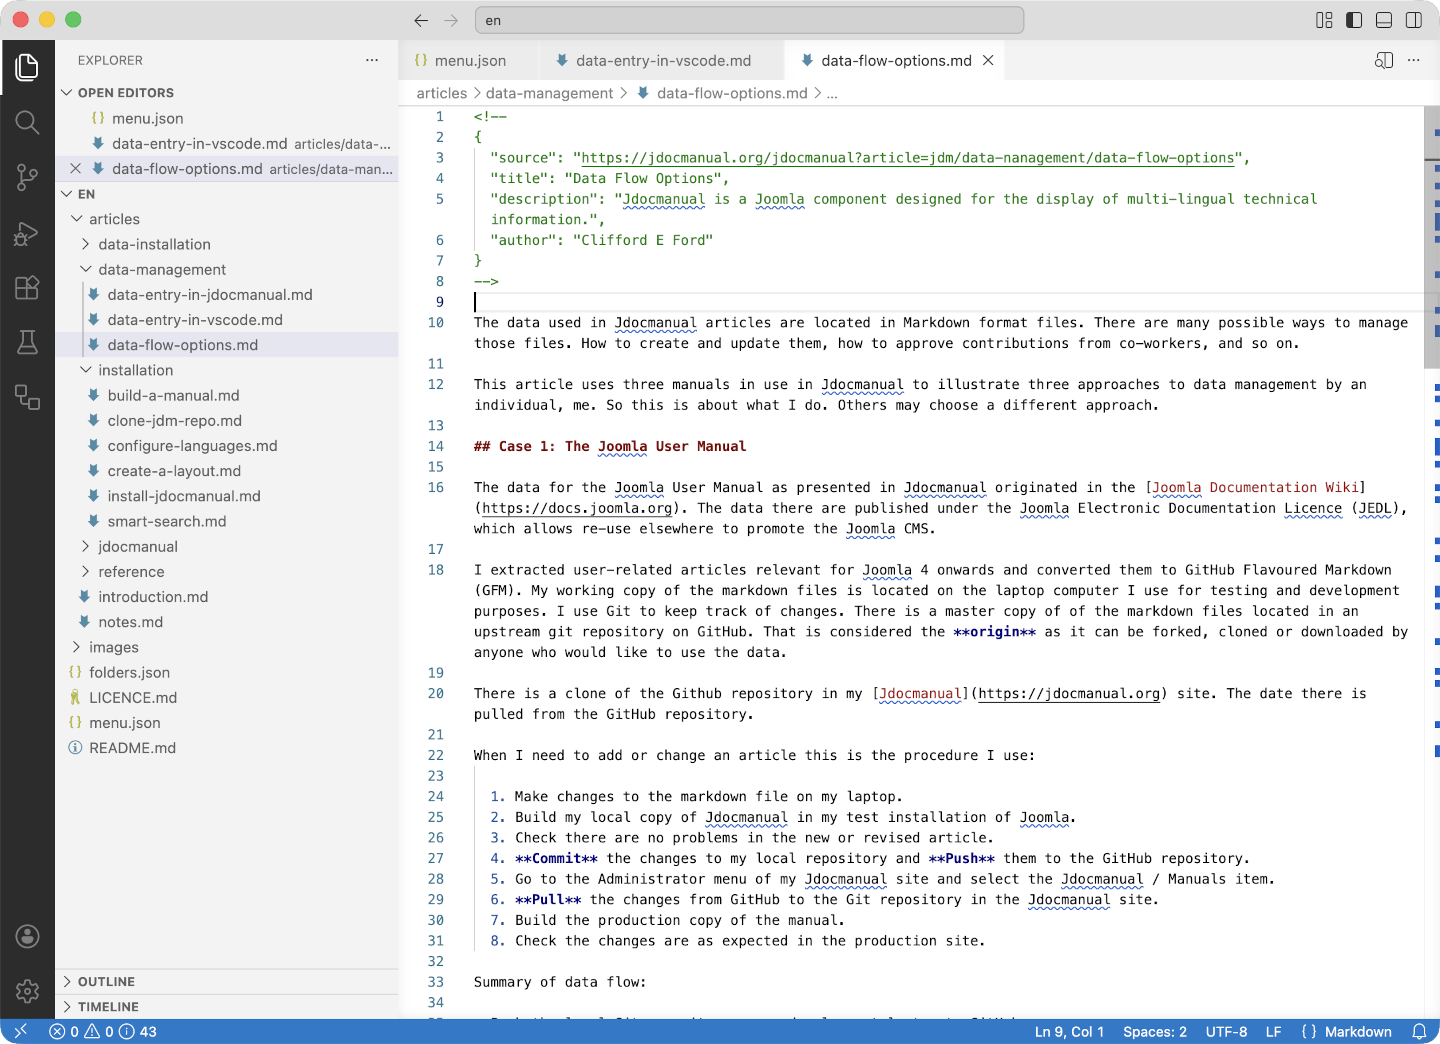
The following screenshot shows the normal VSCode layout with the source tree of folders and files to the left and the edit area to the right:
Preview
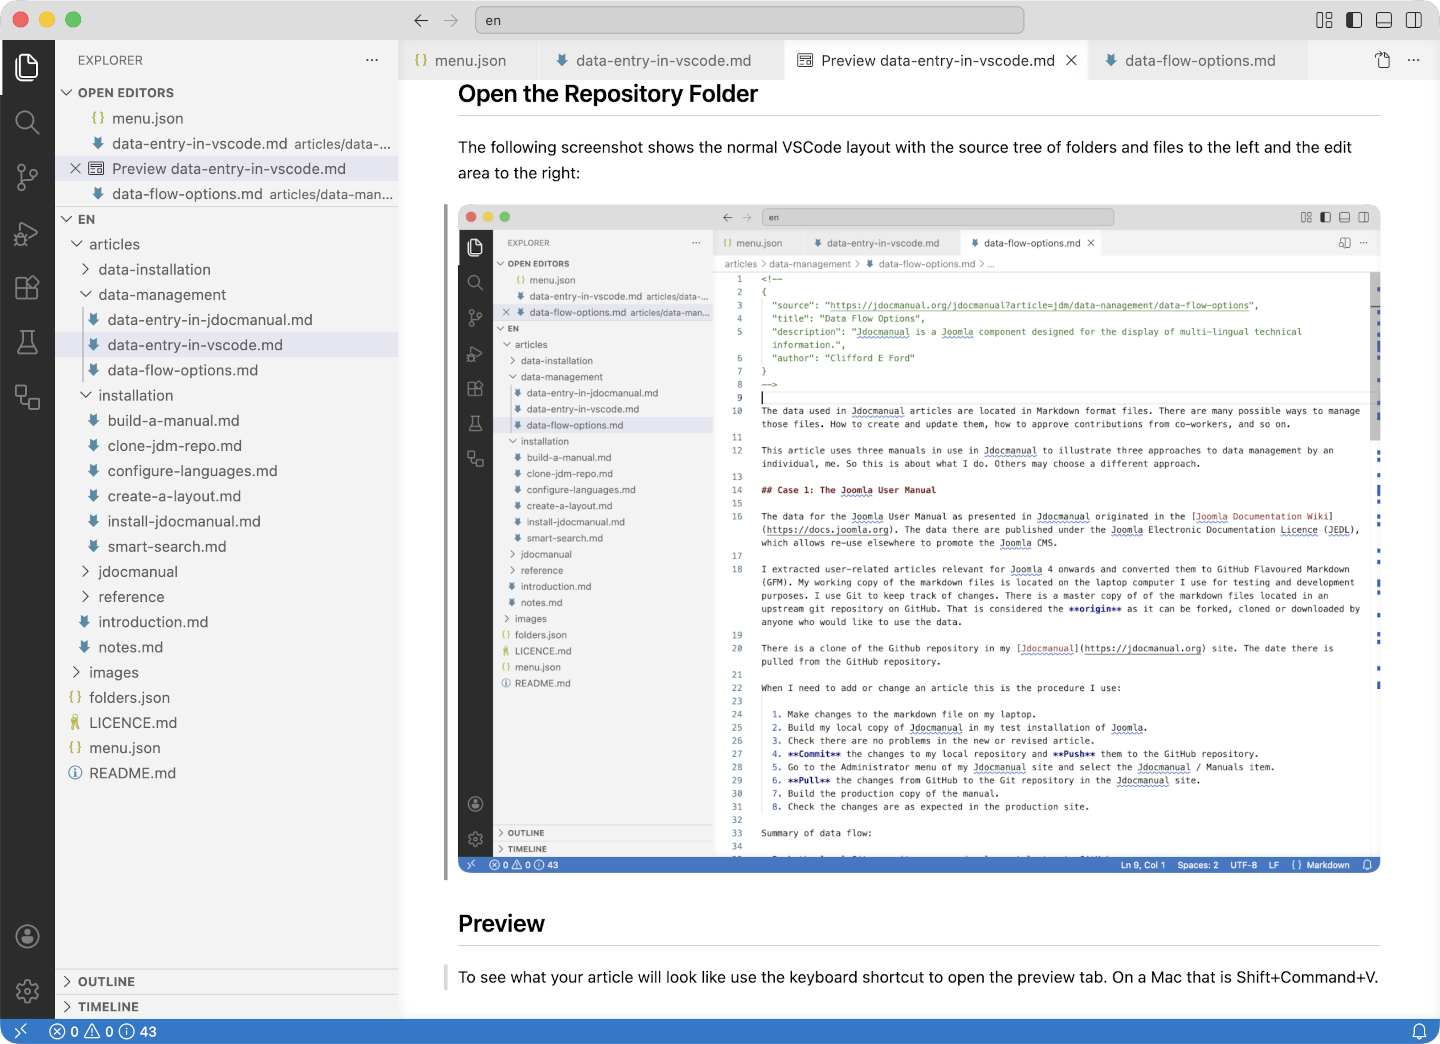
To see what your article will look like use the keyboard shortcut to open the preview tab. On a Mac that is Shift+Command+V.
Markdown Edit
Markdown editing is intended to be simple! Hashes (#) at the start of a line for headings, 1-6 hashes for 1-6 level headings. Never use h1 as that is usually set in the overall layout. Start with h2 and use semantic markup (do not skip heading levels). Blank lines are used to separate paragraphs. Summary sheets for other markup features are available elsewhere.
Autosave
VSCode has an enormous number of configuration options that you can change to suit yourself. A good one to use is to save content onFocusChange. Use the Code / Settings to find the Files: Autosave item and set it as you see fit.
Git Commit & Push
In the left sidebar there is a Source Control icon. Try it! If you have not set up a Git repository you will see a button labelled Initialize Repository. Try it! Instantly you will see a list of Untracked files. At the top there is a box for entry of a short commit message. The Commit action list allows for a simple commit to the repository just created or a commit and push to a remote repository if one has been created.
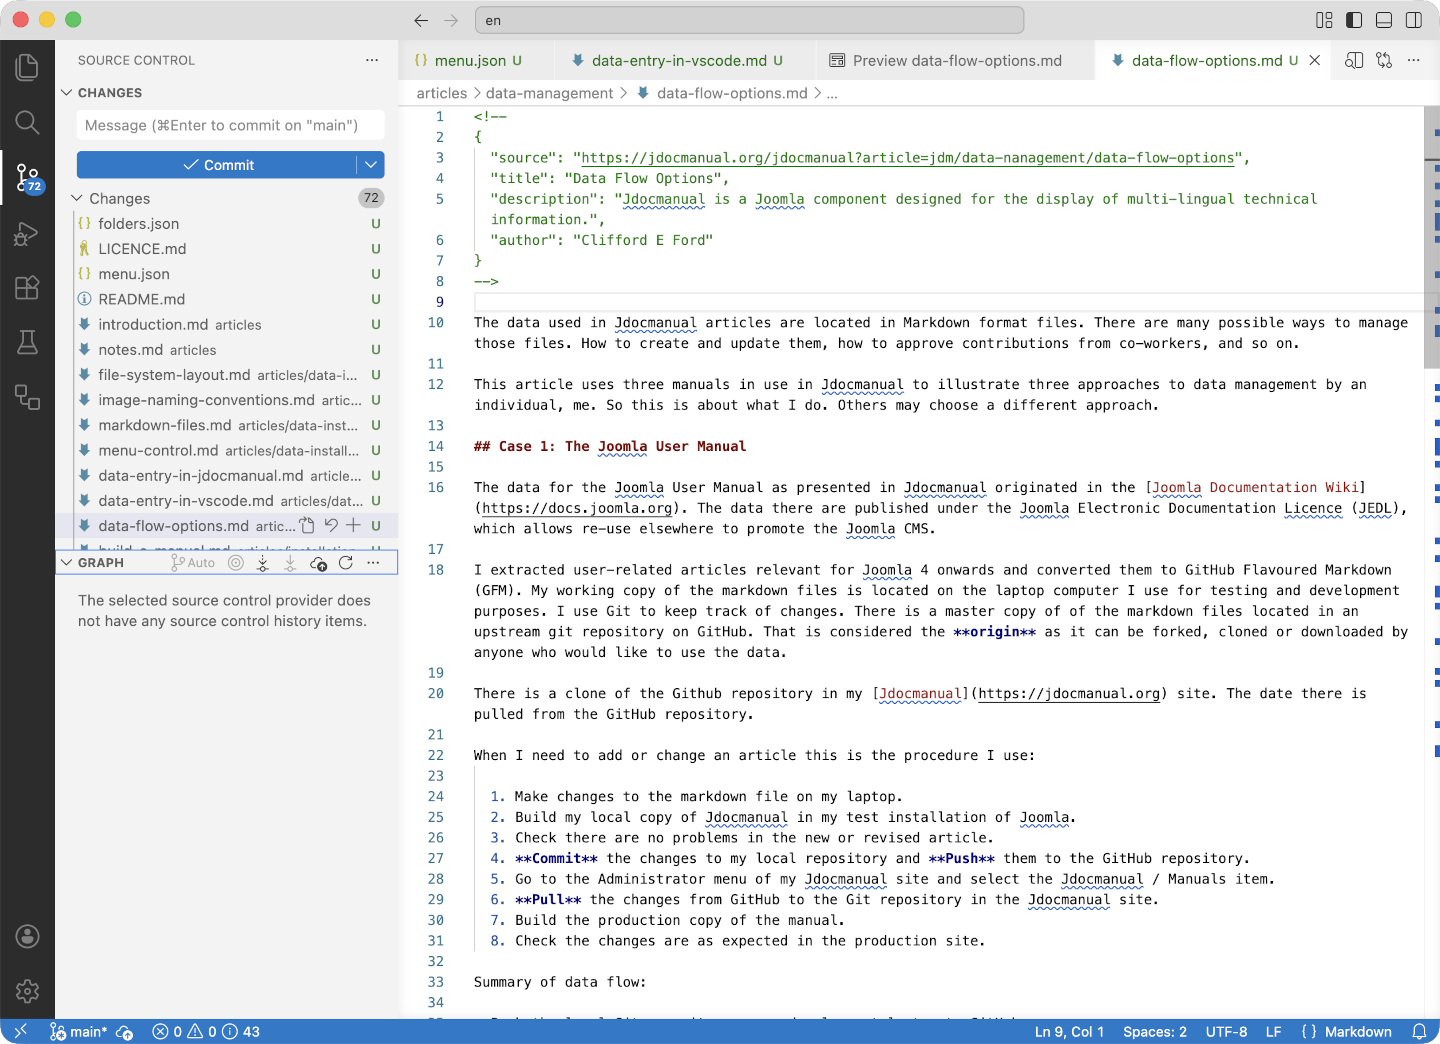
Enter a Commit message and select the Commit button. You will be prompted to confirm this action. On completion the left column will be empty until there are more changes to the source. It is considered good practice to commit little and often. For example, make a commit after creating a new article or updating an existing article.
Timeline and Translation
A useful feature of VSCode is the Timeline at the bottom of the Explorer panel. This can show changes between repository commits. If you are translating the original English into German for example you can see what has changed since the last English commit and update the German translation accordingly.
Here is an example showing the timeline for a German translation:
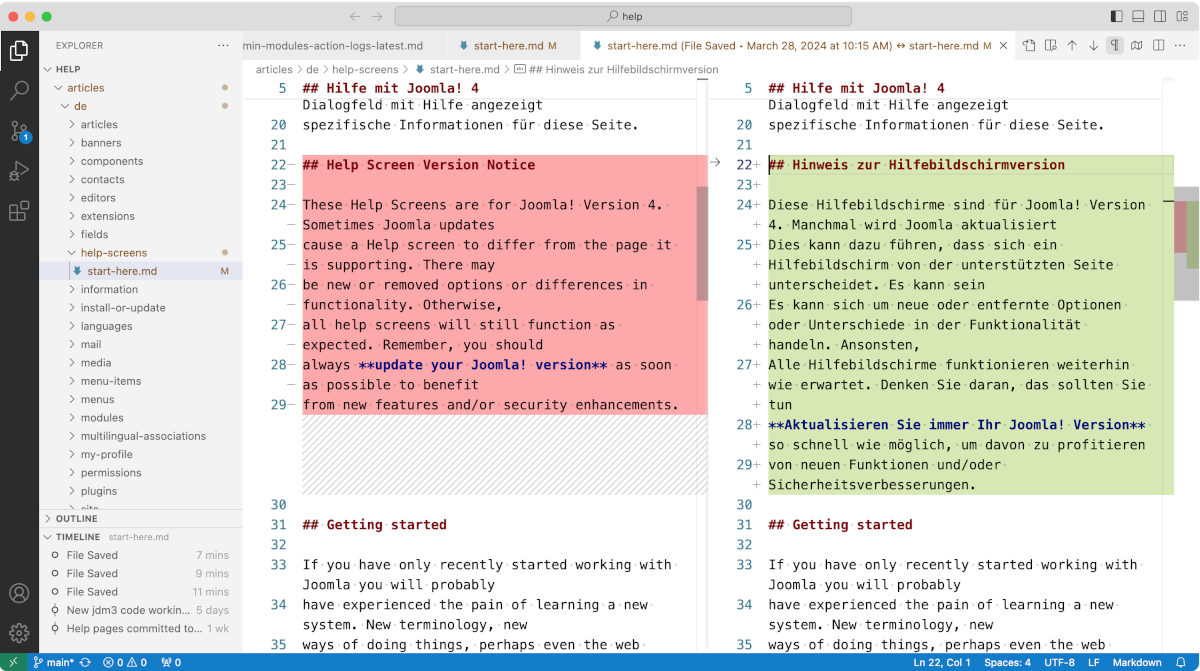
In this example the author copied the English text into a new German document and then began translation paragraph by paragraph.
Summary
This is a very easy way for an individual to work with data sources. If a team is involved you need an upstream repository that can be cloned by others who may then create pull requests. Using VSCode or any other IDE is still a good way to do that.